Ricoh C3003: Difference between revisions
| Line 30: | Line 30: | ||
[[File:ricoh_win_7.png]] | [[File:ricoh_win_7.png]] | ||
It can take a long time. | |||
[[File:ricoh_win_8.png]] | [[File:ricoh_win_8.png]] | ||
[[File:ricoh_win_9.png]] | [[File:ricoh_win_9.png]] | ||
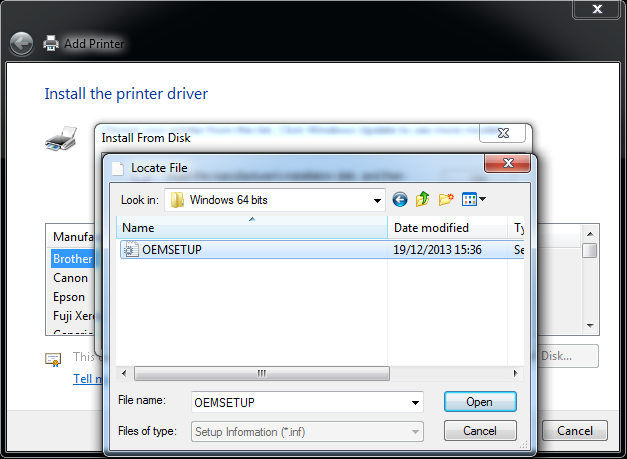
Go to the extracted folder, and select the file '''OEMSETUP'''. | |||
[[File:ricoh_win_10.png]] | [[File:ricoh_win_10.png]] | ||
Revision as of 10:57, 18 February 2014
Features
List of features
Installation
Windows
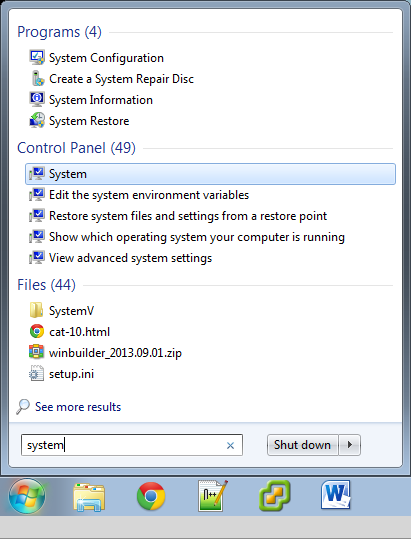
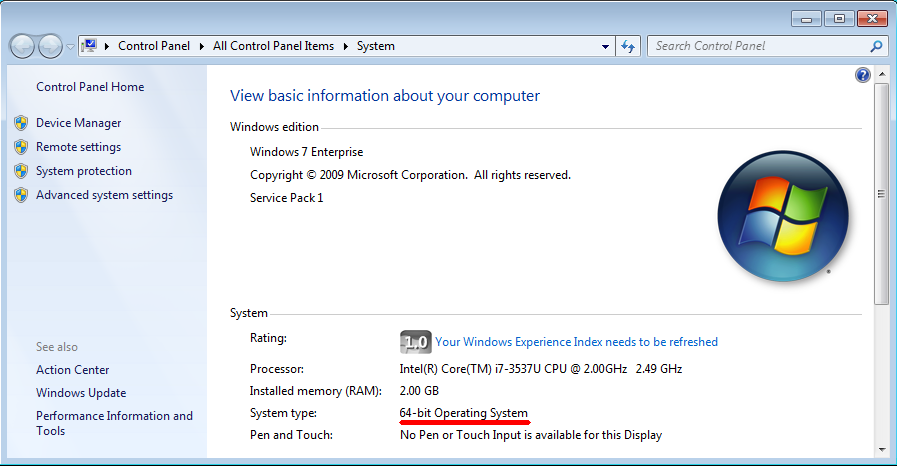
First, you need to determine which system type (32 bits or 64 bits) you have. Go to System.
Download the right driver and extract it somewhere :
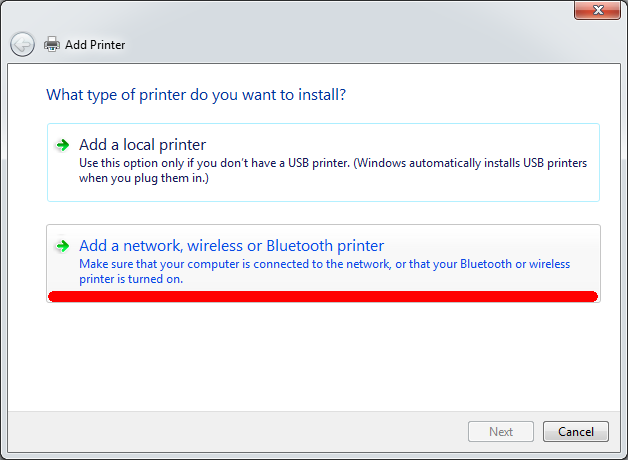
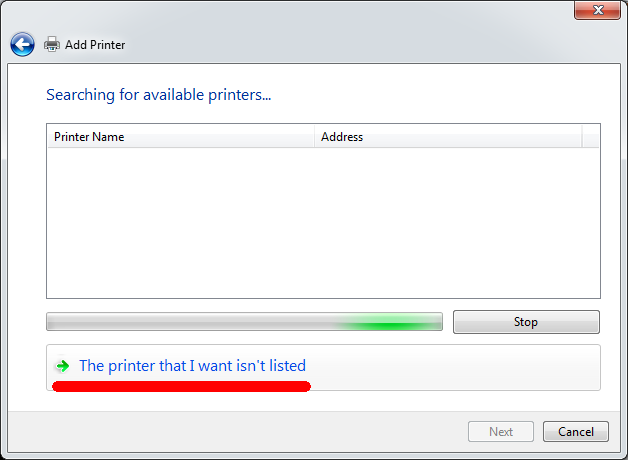
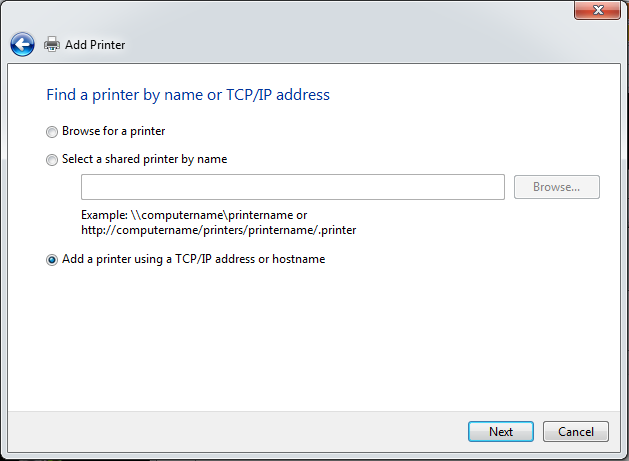
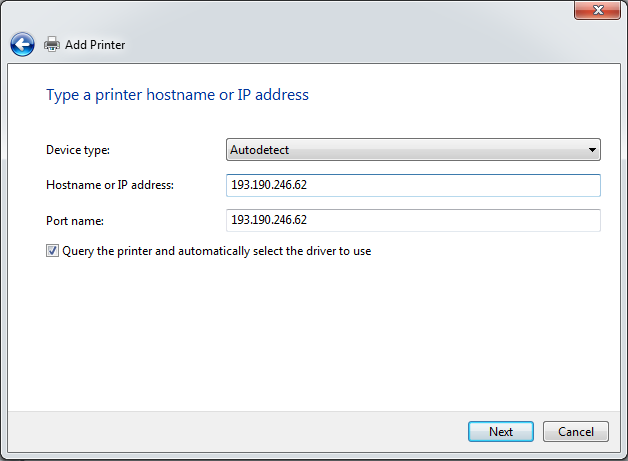
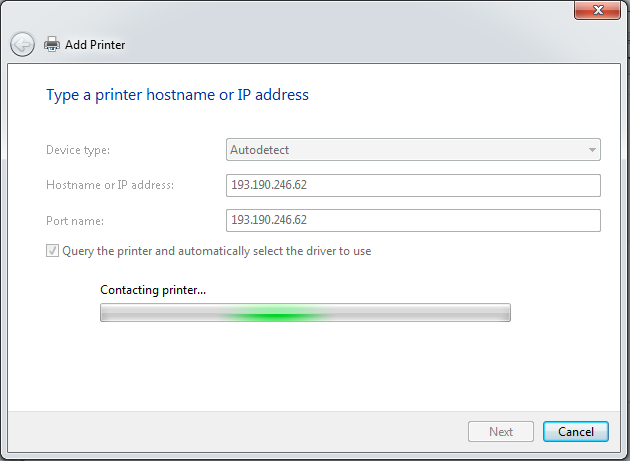
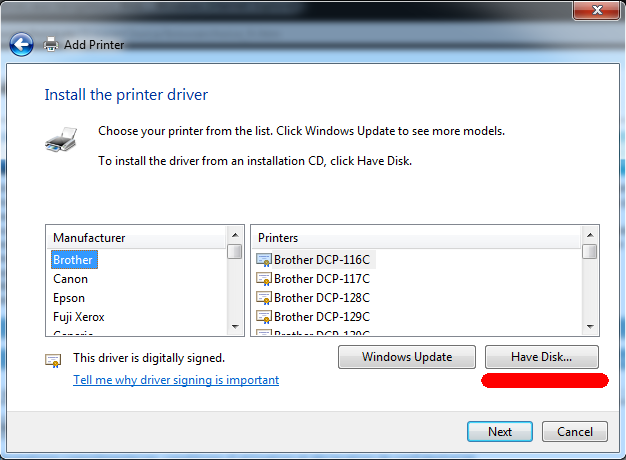
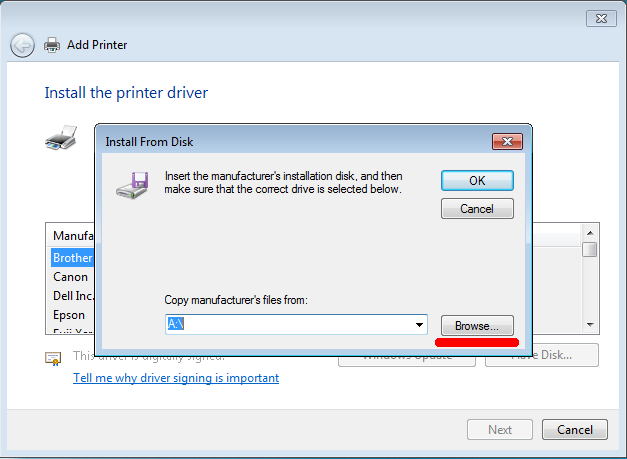
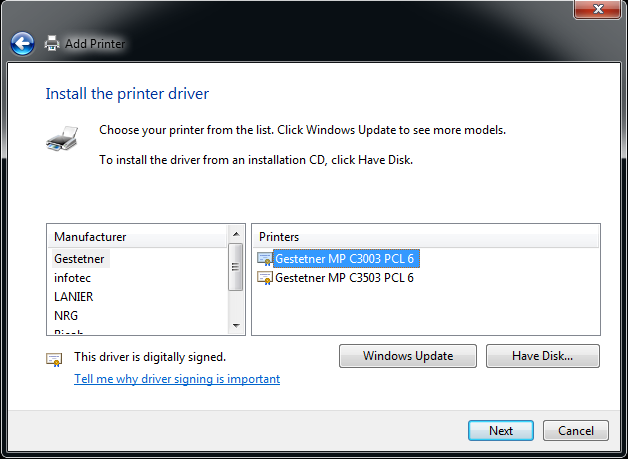
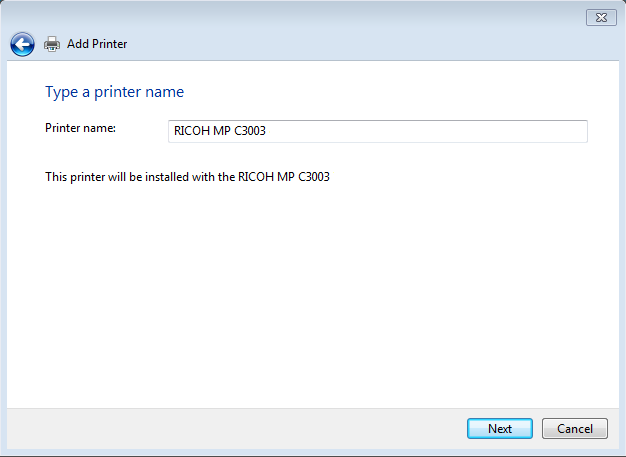
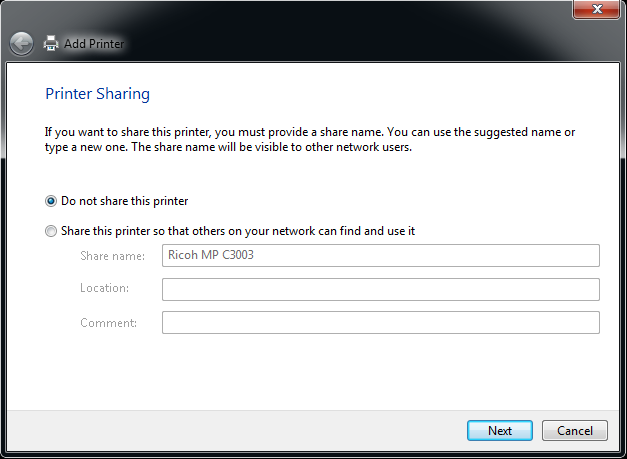
Now, click on Start button and go to Devices and printers, click on Add printer and follow these steps :
It can take a long time.
Go to the extracted folder, and select the file OEMSETUP.
Linux
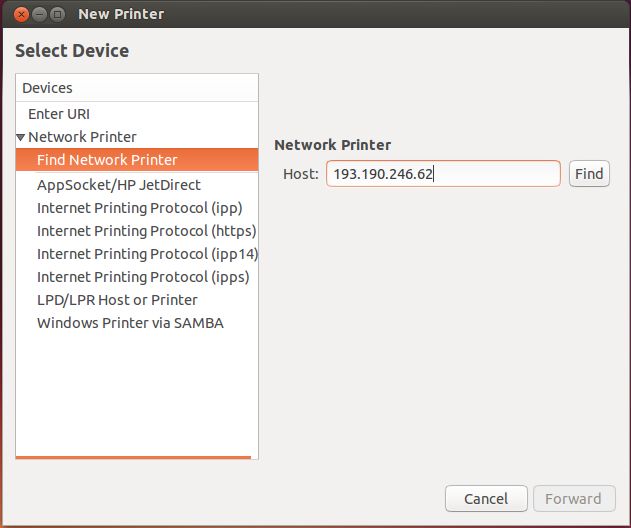
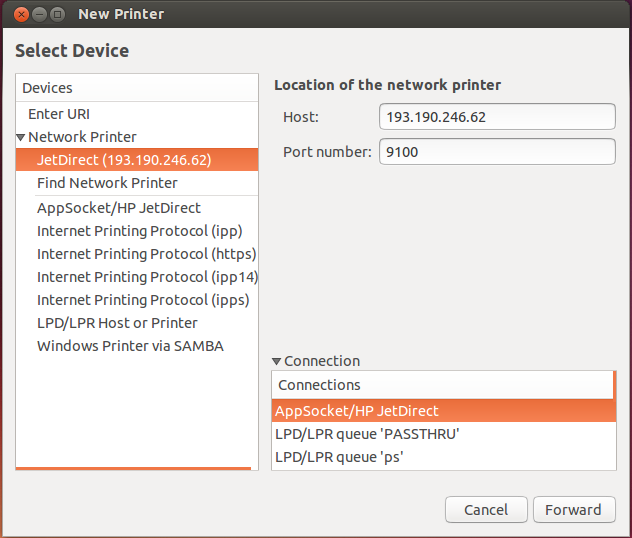
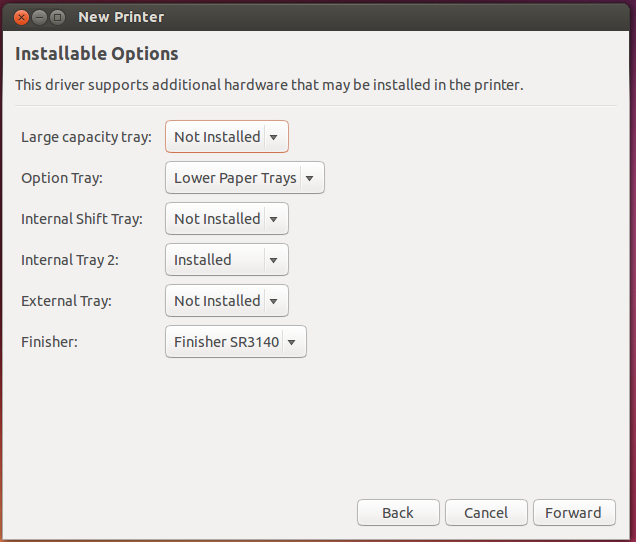
Go to System settings/Printers. Click on Add.
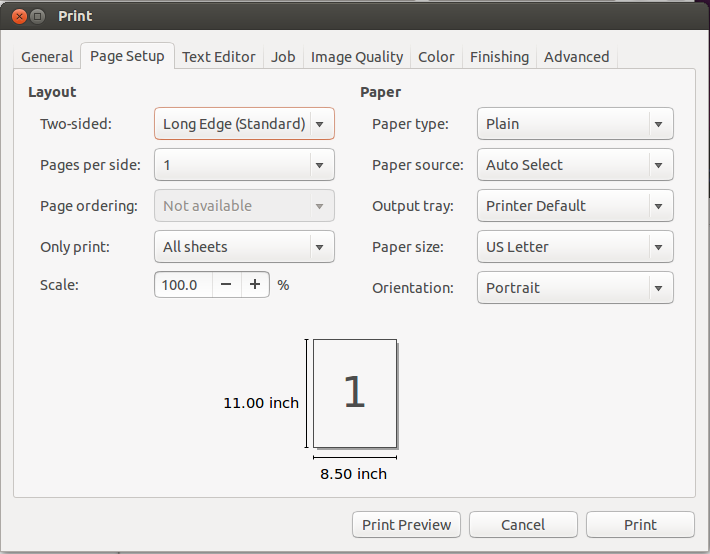
When you want to print, don't forget to check the paper size. Sometimes, you need to change from US Letter to A4.
Mac OS X
Go to System settings/Printers & scanners. Click on +.
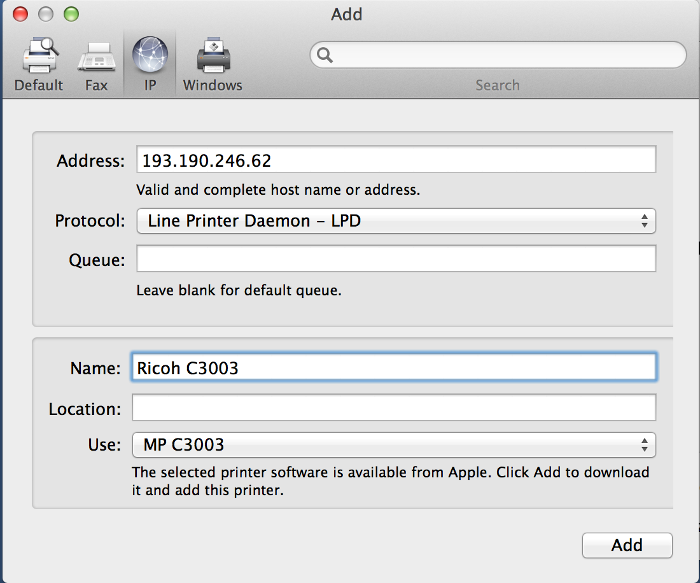
Click on IP tab, and fill the fields Address and Name like the following screen :
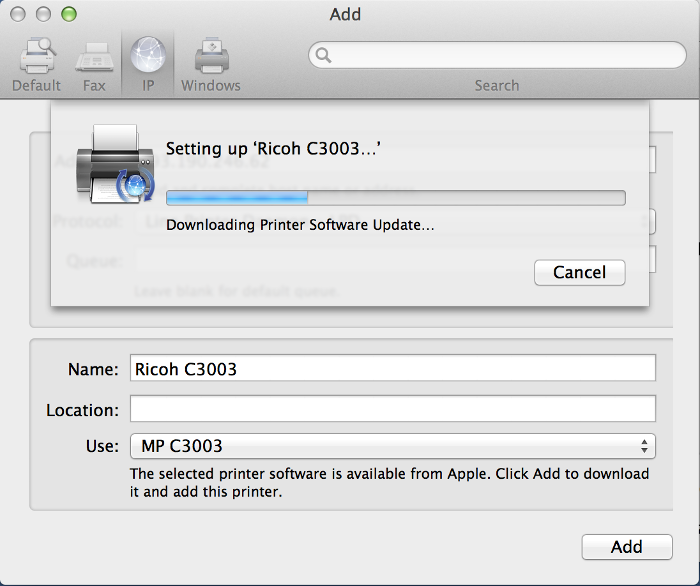
Click on Add. Please wait during the download and installation of the driver. Then, click on Add.
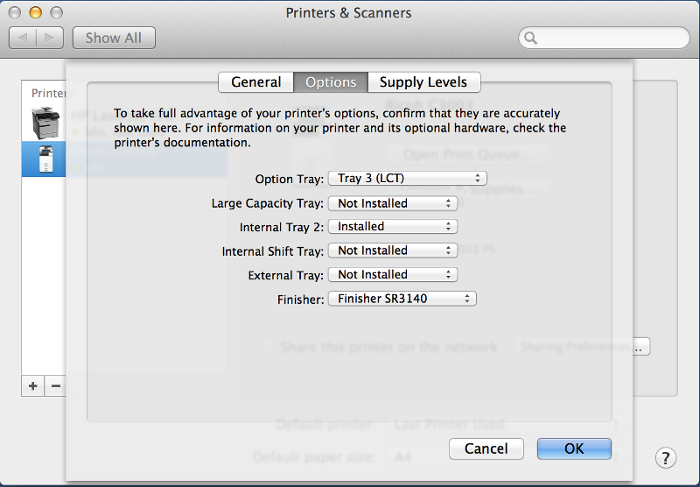
Then, go to printer options, options tab and select the options like the following screen :
